
 Many people who are in preparedness look for alternative health remedies and solutions. Often, people consider herbs, supplements, and essential oils for their health care. A great skill you might want to consider is How to Make Your Own Essential Oils for Preparedness.
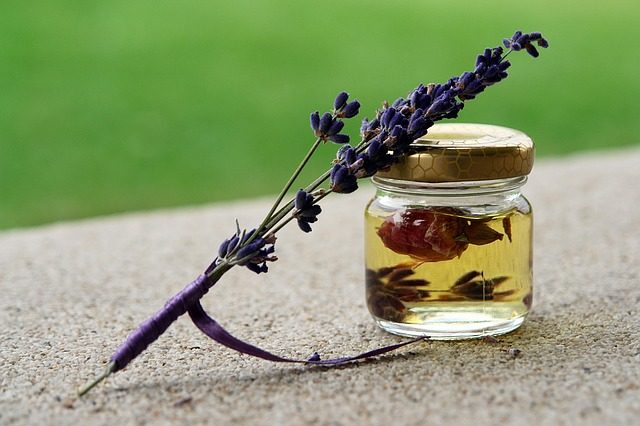
Essential oils are homeopathic ways to help mental issues, fatigue, stress, or even physical conditions. Essential oils are extracts from certain plants or fruits that are distilled and placed in a container. Packaged essential oils are highly potent and very concentrated. Below are basic instructions on how to extract, distill, and cultivate your own essential oils.
[wpgfxm_contentbox width=”75%” bg_color=”#bed36b” b_color=”#050C42″ style=”double” top=”1px” right=”none” bottom=”1px” left=”none” radius=”0px”] Click to get your – FREE Digital Subscription to PREPARE Magazine! [/wpgfxm_contentbox]
Buy a Distiller
The first important item you will need to make your own essential oils is to purchase a distiller. Distillers cost a few hundred dollars, so make sure the one you choose is durable and will do the job well. Distillers have several components to consider. The heater is important to properly steam and heat the plants so that you can extract the oils. The holding tank will decide how much water you will be able to use. Smaller holding tanks will mean less steam. The condenser collects the steamed mixture. The condenser collects the steam and holds it for cooling. Finally, the separator is used to separate the water from the oil.
Decide what plant you would like to use. You can also buy the harvested plants or you can choose to grow them yourself. Some expensive essential oils are only available from other countries such as France. Africa is also a host of several essential oil plants. Make sure to research which essential oil is most useful for the illness that you need to alleviate.
When you receive the plant, you need to dry the plant for the distiller. Drying the plant will dry some of the oil, but it will yield a higher extract product. Drying is a slow process and it should never be done via sunlight. Sunlight can damage the oils and render the plant useless. The distill process should be done immediately after drying is complete.
Add the water to your distiller, and pack the plant material in the container. You don’t need to cut or break the plants since the distiller will extract from whole plant material. You can pack the plant matter thickly to make sure you receive enough extract.
Boil the water so that steam starts to form. Keep an eye on the distiller to make sure it does not overflow. It is also important to make sure that the water does not run out. The heat without the water can break your distiller.
You can optionally filter the solutions. By pouring the solution through a cloth fabric, you can catch some of the small imperfections and contaminates that can cause allergies. It will also remove dirt from the solution making it more pure.
Store the oil in a container. The container for essential oils should be dark glass or stainless steel. Never use clear glass or your product can spoil more quickly. The essential oils should be kept in a cool, dark place away from contaminates. Most essential oils have an approximate shelf life of 2 years.
The remaining part of the distillation process that is not the oil is the hydrosol. It contains some of the oil and fragrance material that also has therapeutic effects. You can use the water for other uses such as bath water or a light scent. For others, they prefer not to keep the hydrosol and it is thrown away.
[wpgfxm_contentbox width=”75%” bg_color=”#bed36b” b_color=”#050C42″ style=”double” top=”1px” right=”none” bottom=”1px” left=”none” radius=”0px”] Want More? Get a FREE Digital Subscription to PREPARE Magazine! [/wpgfxm_contentbox]
There are even MORE great resources for Preparedness available to PREPARE Premium Members.
* Disclosure: Link to the distiller is an Amazon Associate Link.


